Aqueduct in Nantwich

Back up on the top, generations of boat horses have left their mark on the railings and protective posts on the stone newels.


I was puzzled that the railings along the edge of the canal over the trough were not similarly marked by tow-ropes.
Closer examination showed a difference in design, so these were a later (and probably unnecessary) addition.


Telford’s original surveyed route took the canal to the west over higher ground which would have needed less in the way of civil engineering. Unfortunately the owners of the land around Dorfold Hall refused to allow the “stinking ditch” to cross it, and the line had to routed where it is today.
Every cloud, as they say, though. The preferred route would have joined Nantwich Basin, making an end to end connection with the Chester Canal. In that case there would have been nowhere for Nantwich Marina.
Nantwich Marina from basin end

Just beyond Bridge 94, off the embankment, the canal is very wide, I’ve often wondered why, but the re-routing of the navigation might be the explanation. If it had taken the western route it would have followed the left bank on the photo below and ducked under the road further to the left.

I wonder if they’d already cut this section, then had to re-align the route when permission to cross Dorfold Hall’s land was refused? The intervening strip of land between the dead-end and the final cut may have been removed or just eroded by passing boats.
An hour after leaving Nantwich we arrived at Hack Green, the two locks here being the start of the climb up towards the Black Country plateau. Before reaching Autherley Junction and the connection with the Staffs and Worcester Canal the Shroppie will climb around 140 feet through 29 locks. To get up on the BCN Wolverhampton Level will take another 21 locks, rising a further 130 feet.
Hack Green Bottom Lock


….or go here.
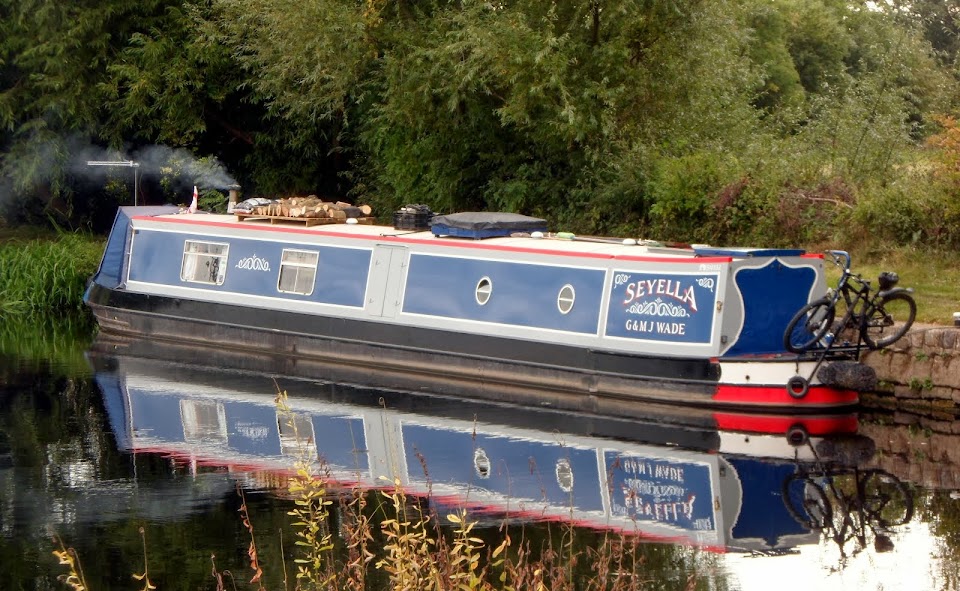
The popular Coole Pilate moorings were empty this morning

Approaching Audlem the River Weaver is crossed on an embankment with a hole in it (you can’t call it an aqueduct) as it heads back north towards the Mersey. It’s come south from the Peckforton Hills, and has done a U turn just south of the village.
The Weaver heading north

We climbed the first 4 locks of the Audlem flight of 15 before calling it a day below Lock 11.
Almost as obligatory as a picture of The Swan at Fradley, The Shroppie Fly at Audlem

The bywashes were running fast with the recent rain…

…making it tricky for Mags as she approached the locks

We’ll hang on till lunchtime tomorrow before moving, the band of rain that’s due through tonight should be clear by then. We intend to get to the bottom of the next flight, at Adderley. Only 5 locks in that one.
Locks 6, miles 6¼
No comments:
Post a Comment